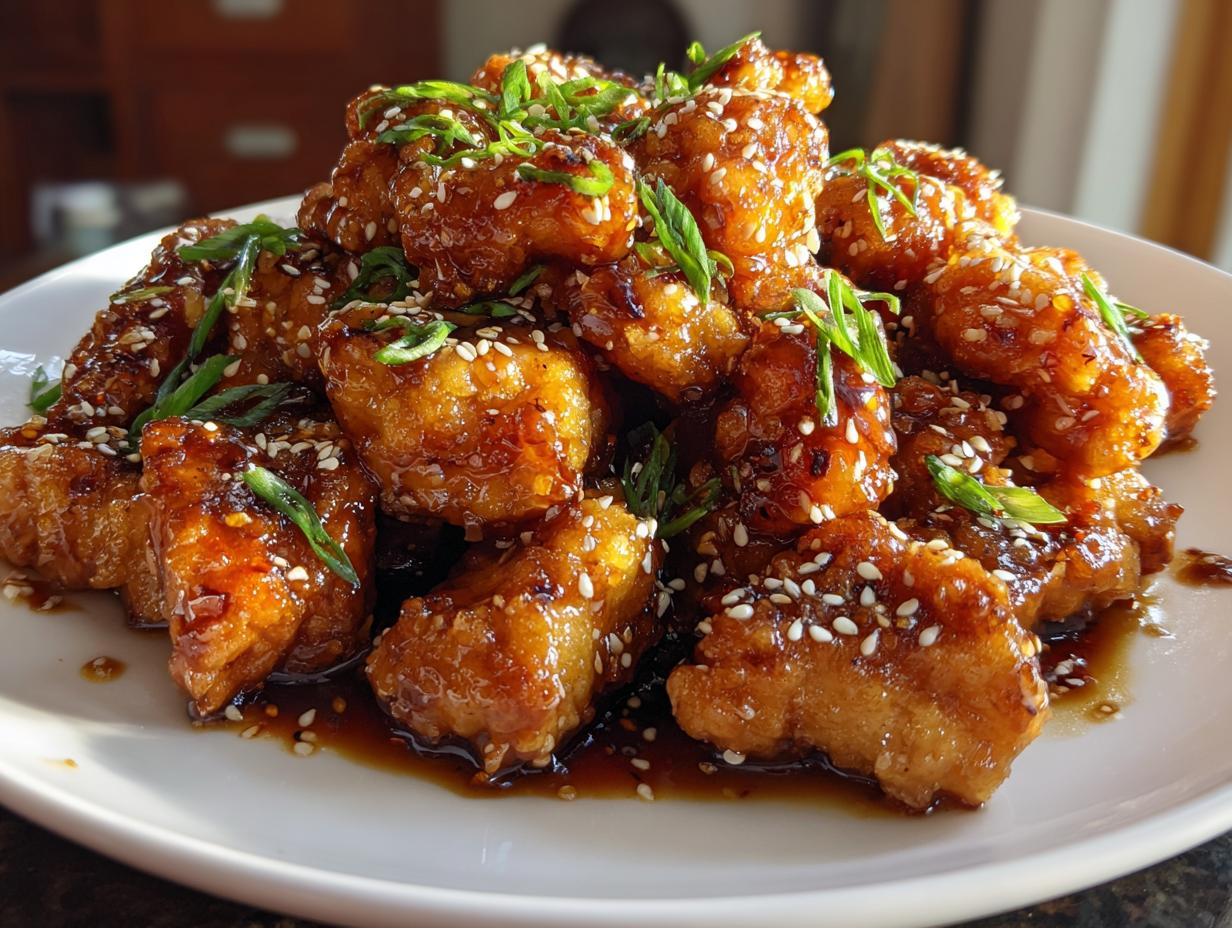
Oh, sesame chicken – the dish that got me through college finals and still makes my Friday nights feel special! There’s something magical about that crispy chicken coated in sticky-sweet sauce, with those nutty sesame seeds adding the perfect crunch. My first attempt at homemade sesame chicken was… well, let’s just say the fire alarm went off. But after years of tweaking (and a few less smoky kitchens), I’ve nailed down a foolproof version that’s faster than takeout and twice as delicious.
This Chinese-American classic hits all the right notes – crispy, sweet, savory, and just a tiny bit addictive. The secret? A simple cornstarch coating for maximum crunch, and a sauce that balances honey’s sweetness with soy sauce’s umami depth. Trust me, once you try this version, you’ll never look at that takeout menu the same way again!
Why You’ll Love This Sesame Chicken
Listen, I know we all have our guilty pleasure takeout orders, but this homemade sesame chicken? It’s about to become your new weeknight hero. Here’s why:
- Faster than delivery: From fridge to plate in 25 minutes flat – and that includes the time it takes to convince your cat to stop sitting on the cutting board
- Crispy magic: That cornstarch coating? It’s the golden ticket to crunch that actually stays crunchy under all that glorious sauce (unlike that sad, soggy takeout box)
- Sweet-savory perfection: Just enough honey to make you happy, just enough soy to keep it real – balance even Goldilocks would approve of
- Leftover game strong: Toss the extras in a lunchbox with rice tomorrow and prepare for serious office envy
Ingredients for Sesame Chicken
Okay, let’s raid the pantry! Here’s everything you’ll need to make sesame chicken that’ll knock your socks off. I’ve learned the hard way that having everything prepped and measured before you start cooking makes all the difference – no frantic rummaging through spice cabinets with sauce bubbling over!
The Chicken
- 1 lb boneless, skinless chicken breast – cut into 1-inch pieces (trust me, uniform size means even cooking)
- 1/4 cup cornstarch – this is our crispy magic dust
- 2 tbsp vegetable oil – for that perfect golden fry
The Sauce (aka Liquid Gold)
- 2 cloves garlic – minced (fresh is best, but I won’t judge if you use the jarred stuff)
- 1/4 cup soy sauce – regular or low-sodium, your call
- 2 tbsp honey – the good sticky stuff
- 1 tbsp rice vinegar – that subtle tang makes all the difference
- 1 tbsp brown sugar – for depth of flavor
- 1 tsp sesame oil – don’t skip this! It’s the flavor MVP
The Finishing Touches
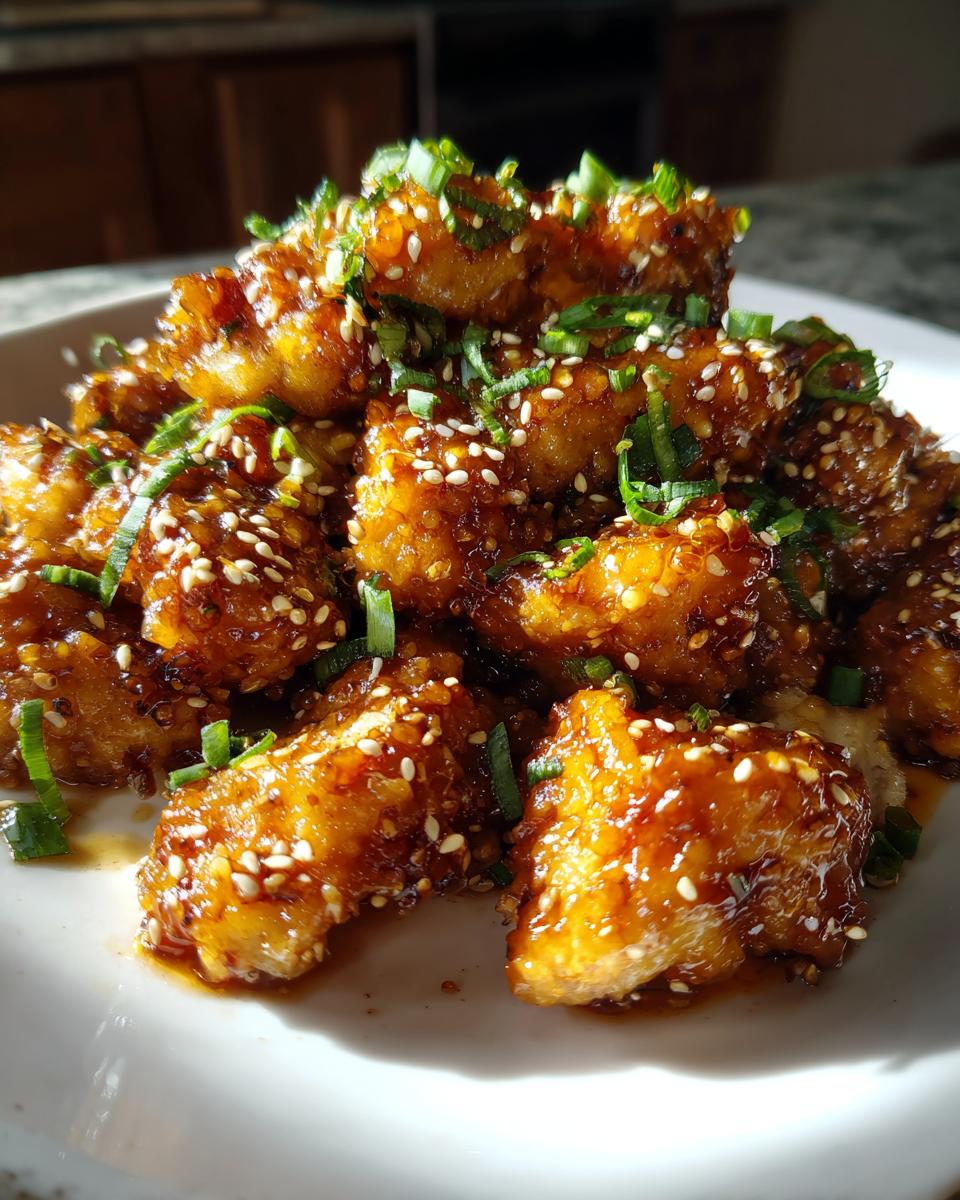
- 1 tbsp sesame seeds – toasted if you’re feeling fancy
- 2 green onions – thinly sliced (the green parts make such a pretty garnish)
See? Nothing too crazy – just simple ingredients that work together like a dream team. Now let’s get cooking!
Equipment You’ll Need
Before we dive in, let’s make sure we’ve got our kitchen tools ready. You don’t need anything fancy – just these basics:
- Large skillet – my trusty 12-inch never lets me down
- Mixing bowls – one for the chicken, one for sauce prep
- Measuring spoons and cups – eyeballing measurements is how my first batch ended up tasting like soy sauce soup
- Tongs or spatula – for flipping those chicken pieces like a pro
- Cutting board and sharp knife – safety first with that chicken prep!
That’s it! Now let’s make some magic happen.
How to Make Sesame Chicken
Alright, let’s get cooking! I’ll walk you through each step to make sure you end up with perfectly crispy, saucy sesame chicken every time. I’ve burned enough batches to know exactly where things can go wrong – consider me your crispy-chicken guardian angel!
Coating and Frying the Chicken
First, let’s talk about that all-important crunch. The secret? Cornstarch and patience. Here’s how we do it:
- Dump your chicken pieces into a bowl and toss them with the cornstarch until every piece is evenly coated – no naked spots allowed! Let it sit for a minute while your oil heats up.
- Heat your oil in that big skillet over medium-high heat. You’ll know it’s ready when a tiny piece of chicken sizzles immediately when dropped in. (Pro tip: If it smokes, it’s too hot – turn it down a notch!)
- Carefully add your chicken in a single layer – don’t crowd the pan! I do this in two batches to keep things crispy. Fry for about 3 minutes per side until golden brown. The smell at this point? Heavenly.
- Transfer the cooked chicken to a paper towel-lined plate to drain. Resist the urge to snack on it now – I know it’s tempting!
Making the Sesame Sauce
Now for the sauce that makes this dish so addictive. It comes together in the same pan (less dishes – hooray!):
- Drain all but about 1 teaspoon of oil from the pan and return it to medium heat. Toss in your minced garlic and stir for just 30 seconds – until fragrant but not brown. Burnt garlic is the enemy here!
- Pour in the soy sauce, honey, rice vinegar, brown sugar, and sesame oil. Stir constantly as it comes to a simmer. Watch as it transforms from separate ingredients into a glossy, thick sauce – this takes about 2 minutes.
- Do the spoon test: Dip a spoon in and run your finger down the back. If the line holds, it’s ready. If sauce fills in immediately, give it another minute. Patience pays off!
Combining and Garnishing
Now for the best part – bringing it all together:
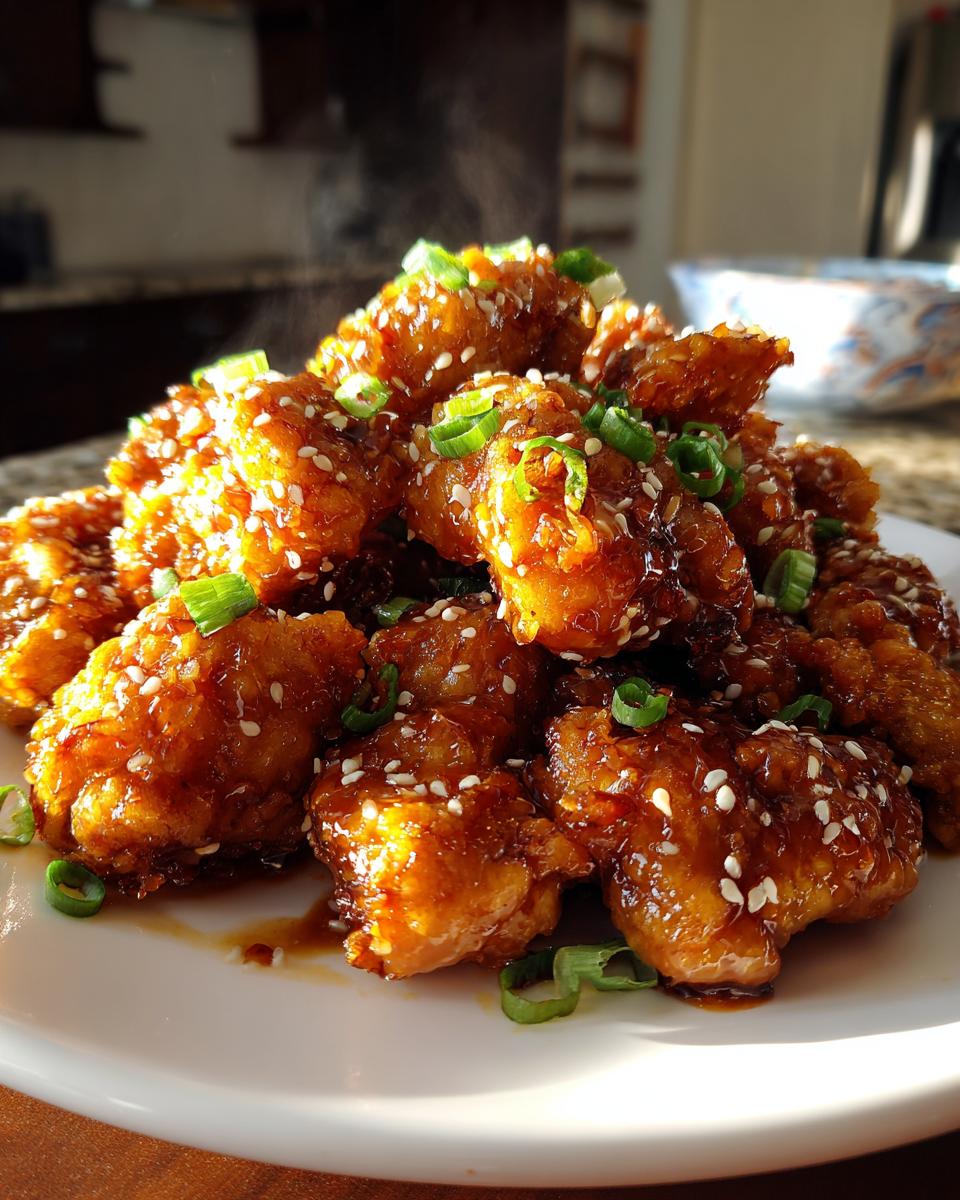
- Return all that crispy chicken to the pan with the sauce. Gently toss until every piece is beautifully coated. The sound of crispy chicken meeting that sticky sauce? Music to my ears.
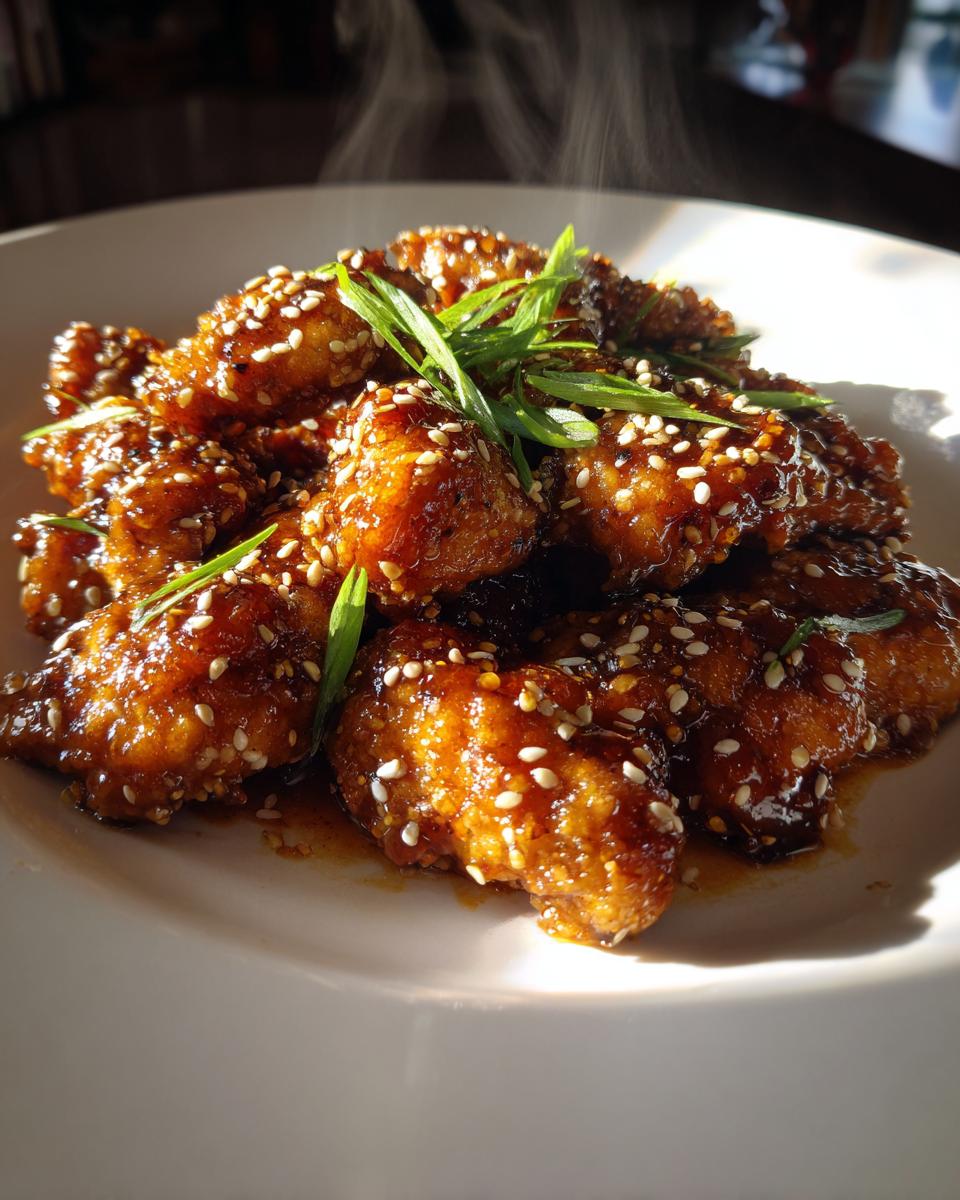
- Kill the heat and sprinkle with sesame seeds and green onions. The seeds add nutty crunch, while the onions give a fresh pop of color and flavor.
- Serve immediately while it’s still hot and crispy. Watch as everyone’s eyes light up at first bite – that’s your cue to take a bow!
See? Not nearly as intimidating as some restaurant dishes make it seem. The key is taking it step by step – and maybe licking the spoon afterward (I won’t tell). Now let’s talk about how to make this recipe truly foolproof…
Tips for Perfect Sesame Chicken
After making this recipe more times than I can count (and yes, learning from plenty of mistakes), here are my foolproof tips for sesame chicken that’ll have everyone thinking you’re a takeout wizard:
The Chicken Commandments
Pat that chicken dry! Before you even think about cornstarch, blot those chicken pieces with paper towels. Any extra moisture is the enemy of crispiness – I learned this the hard way when my first batch steamed instead of fried. You want the surface as dry as a desert before coating.
Heat matters. That oil should be shimmering but not smoking when you add the chicken. If it’s too cool, you’ll get greasy chicken. Too hot? Burnt coating with raw insides (been there). Test with one piece first – it should sizzle immediately.
Sauce Secrets
Taste as you go! That sauce is your canvas – want it sweeter? Add a touch more honey. Need more tang? Splash in extra vinegar. I always keep extra ingredients nearby for last-minute tweaks. My husband likes his extra sticky, so I sometimes reduce the sauce a bit longer.
Toasted sesame seeds = game changer. If you’ve got 2 extra minutes, toast those seeds in a dry pan until golden. The nutty aroma they release takes this dish to another level entirely. Just watch them like a hawk – they go from perfect to burnt in seconds!
Leftover Love
Crisp it back up. If you’ve got leftovers (rare in my house), reheat them in a skillet instead of the microwave. A couple minutes over medium heat brings back that beautiful crunch. Learned this trick after one too many sad, soggy microwave lunches!
Variations of Sesame Chicken
Look, I’m obsessed with the classic version, but sometimes you’ve gotta mix things up! Here are my favorite ways to put a twist on sesame chicken when I’m feeling adventurous (or just cleaning out the fridge):
Tofu Power Move
For my vegetarian friends (or meatless Mondays), extra-firm tofu works shockingly well. Press it for 30 minutes first to remove excess water, then cube and coat just like chicken. The crispy tofu soaks up that glorious sauce like a sponge. Pro tip: Fry tofu at slightly higher heat for extra crunch – it holds up better than you’d think!
Sauce Swaps Worth Trying
Out of soy sauce? Tamari makes a great gluten-free substitute with deeper umami notes. Once when I ran out of honey, I used maple syrup in desperation – turns out it adds a lovely caramel depth! And if you like heat, toss in some red pepper flakes or a squirt of sriracha while making the sauce. My spicy-food-loving cousin adds minced ginger too – says it “wakes up” the flavors.
Veggie Boost
On nights when I’m pretending to be healthy, I’ll stir-fry bell peppers and broccoli separately, then mix them in at the end. The veggies stay crisp while still getting coated in sauce. Bonus: It stretches one pound of chicken to feed my whole hungry family!
The beauty of this recipe? It’s like your favorite pair of jeans – reliable but easy to dress up however you’re feeling. Whether you stick with classic or try these twists, the sesame magic always shines through!
Serving Suggestions
Now that you’ve got this glorious sesame chicken ready, let’s talk about how to serve it up right. Because let’s be honest – what you pair it with can make or break the whole experience. Here are my go-to combos that’ll have everyone scraping their plates clean:
The Classic Combo
Steamed jasmine rice is my ride-or-die pairing. That fluffy white rice soaks up the extra sauce like a dream – I actually make extra rice just for this purpose. Sometimes I’ll toss frozen peas into the rice cooker during the last few minutes for pops of color and texture. My grandma used to say “Rice is the plate,” and for sesame chicken? She was absolutely right.
Veggie Boost
When I’m feeling virtuous (or just want to balance out all that deliciousness), I quickly stir-fry some broccoli florets and snap peas with garlic and ginger. Throw them right under the chicken on the plate – the heat wilts them just enough while keeping that satisfying crunch. Bonus? The sauce clings to the veggies beautifully.
Noodle Twist
For serious carb lovers, toss the sesame chicken with cooked lo mein noodles instead of rice. The noodles get gloriously sticky with sauce – just add a splash of the noodle cooking water to loosen things up if needed. Top with extra green onions and sesame seeds for that restaurant-worthy presentation.
Pro tip: Whatever you choose, serve everything piping hot. That contrast between crispy chicken and steaming rice or veggies? Absolute perfection. And don’t forget extra napkins – this is gloriously messy eating at its finest!
Storage and Reheating
Okay, let’s talk leftovers – because if by some miracle you don’t finish this sesame chicken in one sitting (it happens!), you’ll want to know how to keep that deliciousness tasting fresh. I’ve had my share of sad, soggy reheated takeout, but with these tricks, your homemade version stays almost as good as day one!
Fridge Storage
First things first – let the chicken cool to room temperature before storing (but no more than 2 hours out, food safety first!). I transfer mine to an airtight container, making sure not to pile it too high or the steam makes everything mushy. Properly stored, it’ll keep for 3-4 days in the fridge – though in my house, it rarely lasts that long!
Pro tip: If you’re meal prepping, store the rice separately from the chicken. Nothing ruins a good lunch faster than rice that’s absorbed all the sauce overnight and turned into a gloppy mess.
Reheating Like a Pro
Now, the important part – bringing back that crunch! The microwave is convenient, but it’s also the express lane to Soggy Town. Here’s how I do it:
Skillet method (best for texture): Heat a teaspoon of oil in a pan over medium, add your chicken, and stir occasionally until heated through – usually about 3-4 minutes. The direct heat helps crisp up the coating again. If you’re feeling fancy, splash in a teaspoon of water and cover for 30 seconds to steam it back to life first.
Oven method (good for larger portions): Spread the chicken on a baking sheet and pop it in a 350F oven for about 10 minutes. The dry heat works wonders for reviving texture.
Microwave (only in emergencies!): If you absolutely must microwave, do it at 50% power in 30-second bursts, stirring between each. Place a paper towel under the container to absorb excess moisture. It won’t be as crisp, but it’ll do in a pinch!
One last warning: However you reheat, don’t add extra sauce until after – otherwise you’ll drown any hope of crispiness. Learned that lesson the hard way with what became sesame chicken soup!
Sesame Chicken FAQs
I’ve gotten so many questions about this recipe over the years–here are the ones that pop up most often with my tried-and-true answers!
Can I bake the chicken instead of frying?
Absolutely! For a lighter version, arrange your cornstarch-coated chicken on a greased baking sheet at 400F for about 20 minutes, flipping halfway. It won’t get quite as crispy as pan-fried (that sizzling oil makes all the difference), but spraying the chicken lightly with oil before baking helps. Just keep an eye on it–my first baked batch came out looking like little chicken pebbles!
What’s the best gluten-free option?
Easy swap–use tamari instead of regular soy sauce (check that it’s labeled gluten-free) and make sure your cornstarch isn’t contaminated. I’ve even used arrowroot powder with great results when cornstarch wasn’t available. The sauce thickens just the same, and no one will guess it’s GF!
Why does my sauce sometimes turn out too thin?
Ah, the infamous runny sauce! Three likely culprits: your heat wasn’t high enough to reduce properly (needs a good simmer), you didn’t let it thicken long enough (patience, grasshopper!), or–my most common oops–measuring the cornstarch wrong. If it happens, just mix 1 teaspoon cornstarch with 2 teaspoons cold water and stir it in while simmering for another minute. Crisis averted!
Nutritional Information
Let’s be real – we’re not eating sesame chicken for its diet-friendly qualities, but it’s good to know what you’re getting into! Keep in mind these numbers are estimates – your actual results might vary depending on how much sauce clings to the chicken (I always lick the spoon, so my counts are probably off!).
A typical serving (about 1/4 of the recipe) comes in around:
- 320 calories (but who’s counting when it’s this delicious?)
- 26g protein – that chicken packs a punch!
- 24g carbs – mostly from that irresistible sauce
- 12g fat – the “good kind” from the sesame and vegetable oils
For my gluten-free friends: using tamari instead of soy sauce keeps it celiac-friendly. Watching sugar? Try cutting the honey in half – it’ll still taste amazing. The beauty of homemade is you control what goes in!
Now quit reading nutrition labels and go make this already – I want to hear how your sesame chicken turns out! Tag me on Instagram or leave a comment below with your crispy chicken victories (or hilarious kitchen fails – we’ve been there). Happy cooking!

Crispy Sesame Chicken Recipe in Just 25 Minutes
- Prep Time: 10 mins
- Cook Time: 15 mins
- Total Time: 25 mins
- Yield: 4 servings 1x
- Category: Main Course
- Method: Stir-Fry
- Cuisine: Chinese-American
- Diet: Low Lactose
Description
Sesame chicken is a popular Chinese-American dish featuring crispy chicken pieces coated in a sweet and savory sauce, topped with sesame seeds.
Ingredients
- 1 lb boneless, skinless chicken breast, cut into bite-sized pieces
- 1/4 cup cornstarch
- 2 tbsp vegetable oil
- 2 cloves garlic, minced
- 1/4 cup soy sauce
- 2 tbsp honey
- 1 tbsp rice vinegar
- 1 tbsp brown sugar
- 1 tsp sesame oil
- 1 tbsp sesame seeds
- 2 green onions, sliced
Instructions
- In a bowl, coat chicken pieces with cornstarch.
- Heat oil in a pan over medium-high heat. Cook chicken until golden and crispy, about 5-6 minutes. Remove and set aside.
- In the same pan, sauté garlic for 30 seconds.
- Add soy sauce, honey, rice vinegar, brown sugar, and sesame oil. Stir until sauce thickens slightly.
- Return chicken to the pan and toss to coat evenly.
- Sprinkle sesame seeds and green onions on top before serving.
Notes
- For extra crispiness, fry the chicken in batches.
- Adjust honey or sugar to taste for desired sweetness.
- Serve with steamed rice or vegetables.
Nutrition
- Serving Size: 1 serving
- Calories: 320
- Sugar: 12g
- Sodium: 800mg
- Fat: 12g
- Saturated Fat: 2g
- Unsaturated Fat: 8g
- Trans Fat: 0g
- Carbohydrates: 24g
- Fiber: 1g
- Protein: 26g
- Cholesterol: 70mg