
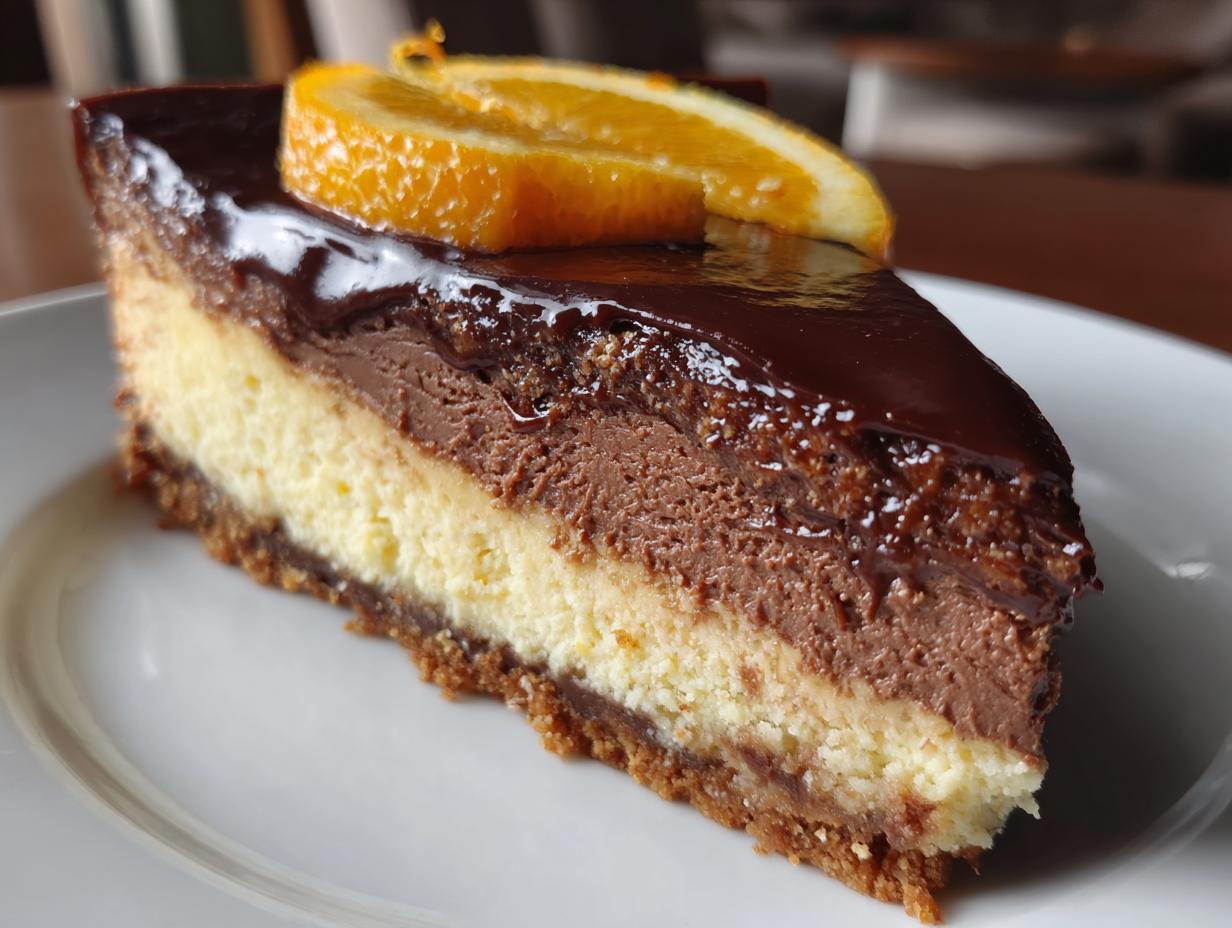
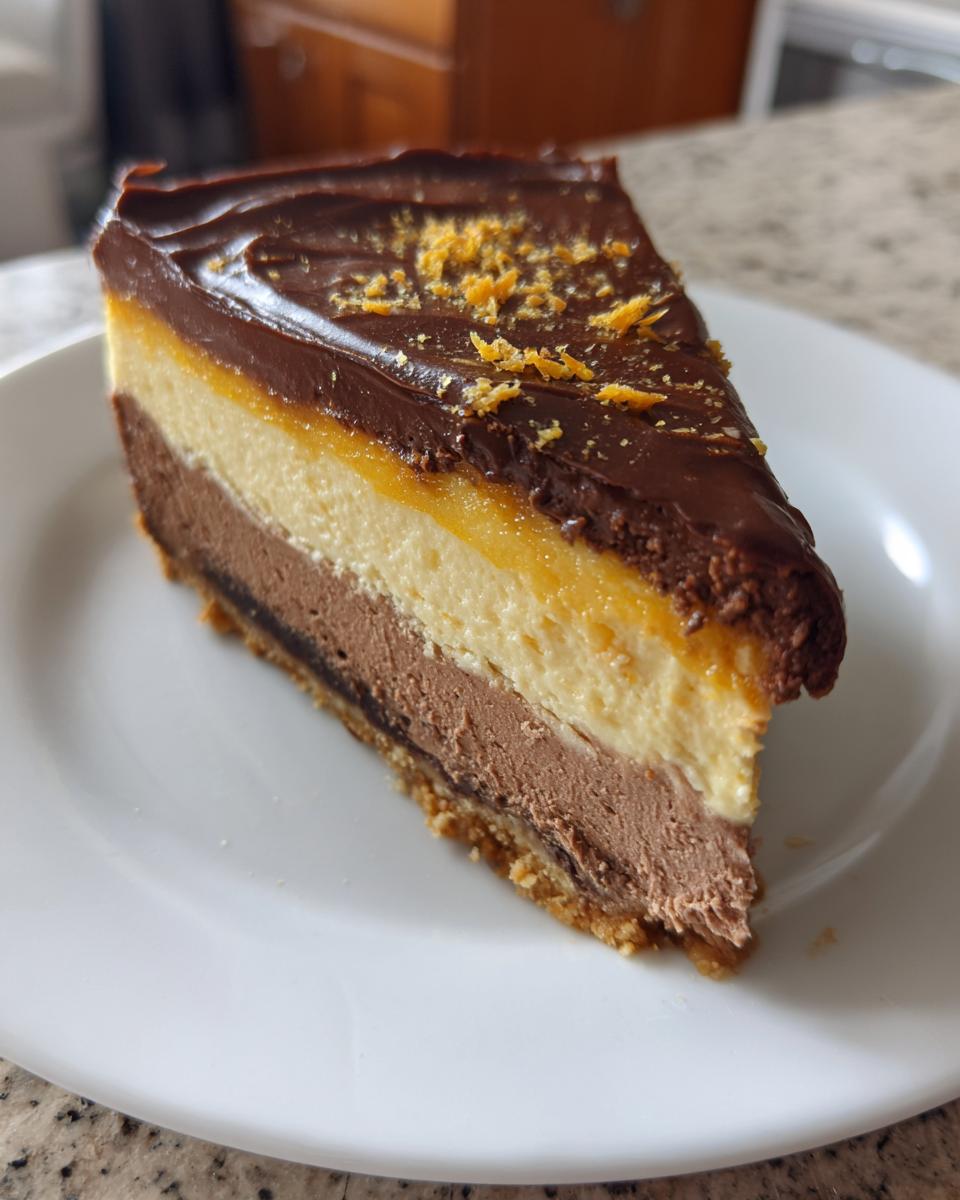
Oh my goodness, let me tell you about my absolute favorite dessert – this Chocolate Orange Cheesecake! The first time I made it for a dinner party, my friends practically licked their plates clean. There’s something magical about how the rich dark chocolate and zesty orange come together in that creamy, dreamy filling. And that buttery biscuit base? Pure heaven!
What I love most is how simple it is to make – no fancy techniques, just good ingredients mixed with love. My secret? Using real orange zest right from the fruit (none of that bottled juice nonsense). The aroma alone while it bakes will make your kitchen smell like a fancy patisserie. Trust me, once you try this cheesecake, you’ll be making it for every special occasion!
Ingredients for Chocolate Orange Cheesecake
Alright, let’s gather everything you’ll need to make this showstopper! I’ve learned through trial and error that quality ingredients make all the difference here. Here’s what you’ll want to have ready on your counter:
- 200g digestive biscuits – crushed into fine crumbs (I use a rolling pin in a bag – great stress reliever!)
- 100g unsalted butter – melted and slightly cooled (real butter only – no substitutes!)
- 600g cream cheese – full fat, at room temperature (this is crucial for smooth mixing)
- 150g caster sugar – the fine grains dissolve perfectly
- 3 large eggs – also at room temperature
- 200ml double cream – makes it luxuriously creamy
- 100g dark chocolate – melted (I use 70% cocoa for the best chocolate flavor)
- Zest and juice of 2 oranges – freshly grated and squeezed, none of that bottled stuff
- 1 tsp vanilla extract – the good quality kind
Essential Equipment
Now, let’s talk tools! You don’t need anything fancy, but these will make your life easier:
- 20cm springform tin – absolute must for easy removal
- Mixing bowls – one large, one medium
- Electric mixer – hand or stand, your choice
- Fine zester – for perfect orange zest without the bitter pith
- Spatula – to scrape every bit of that delicious batter
- Baking parchment – for lining the tin (trust me, you’ll thank me later)
See? Nothing too complicated! Now that we’ve got everything ready, let’s get baking!
How to Make Chocolate Orange Cheesecake
Okay, let’s dive into the fun part! Making this cheesecake is like conducting a delicious symphony – each step builds on the last to create something truly special. Follow these steps carefully, and you’ll have the most velvety, flavorful cheesecake that’ll impress everyone.
Preparing the Biscuit Base
First things first – that buttery, crunchy foundation! I line my springform tin with parchment paper (just the bottom is fine) because I’ve had too many “stuck cheesecake” disasters in my early baking days.
Crush those digestive biscuits until they resemble fine sand – my favorite method is putting them in a zip-top bag and rolling them with a rolling pin (very therapeutic after a long day). Mix the crumbs with melted butter until it looks like wet sand. Press this mixture firmly into the prepared tin using the back of a spoon or your fingers (clean hands work best). Pop it in the fridge to set while you make the filling.
Mixing the Cheesecake Filling
Here’s where the magic happens! In a large bowl, beat the room-temperature cream cheese (I can’t stress enough how important room temp is!) with the sugar until completely smooth – no lumps allowed! Now add the eggs one at a time, mixing well after each addition but not overbeating.
Next, pour in the double cream while mixing on low speed – you’ll see the mixture become luxuriously smooth. Now for the stars of the show: gently fold in the melted (but slightly cooled) dark chocolate, fresh orange zest, juice, and that glorious vanilla extract. The scent at this point is absolutely heavenly!
Baking and Chilling
Pour that beautiful orange-scented chocolate mixture over your chilled biscuit base. Smooth the top with a spatula, then bake in your preheated oven (160C/140C fan) for about 45-50 minutes. You want the edges set but the center should still have a slight wobble when gently shaken.
Here’s my golden rule: turn off the oven, crack the door open with a wooden spoon, and let the cheesecake cool gradually inside for about an hour. This slow cooling prevents cracks better than anything! Then transfer it to the fridge to chill for at least 4 hours – overnight is even better if you can resist!
Tips for the Perfect Chocolate Orange Cheesecake
After making this cheesecake more times than I can count (and eating even more slices), I’ve picked up some foolproof tricks to guarantee perfection every time. These little nuggets of wisdom will save you from the heartbreak of cracks, lumps, or worse – a cheesecake that just doesn’t taste right!
Room temperature is non-negotiable
I know, I know – I already mentioned this, but it’s so important I’m saying it again! Cold cream cheese will never blend smoothly, no matter how hard you beat it. Take everything out of the fridge at least an hour before baking. If you’re in a hurry, you can cut the cream cheese into cubes and let it sit for 20 minutes – it helps!
The gentle art of mixing
Here’s where most beginners go wrong – overmixing! Once you add the eggs, mix just until combined. Too much air incorporated means your cheesecake will puff up and then collapse, leaving cracks. I use the lowest speed on my mixer and stop the second everything looks uniform.
Water bath magic
If you want restaurant-quality results every time, try a water bath. Wrap your springform tin in foil, place it in a roasting pan, and pour hot water halfway up the sides before baking. The steam creates the most even, gentle heat that prevents cracks and gives that perfect creamy texture. Just be careful when removing it – I’ve splashed myself more than once!
Patience is a virtue
I get it – waiting is the hardest part! But rushing the cooling process is a surefire way to end up with cracks. That slow oven cooling I mentioned? It’s worth every minute. And don’t even think about slicing it before it’s fully chilled – the texture needs time to set properly. I promise, the wait makes all the difference!
Variations and Substitutions
While I adore the classic chocolate-orange combo, sometimes you’ve got to play around with flavors based on what’s in your pantry or who you’re baking for. Here are my favorite twists that still deliver that wow factor:
Chocolate variations
Not a dark chocolate fan? No problem! Milk chocolate makes a sweeter, milder version that kids especially love. For an intense chocolate hit, I sometimes add 2 tablespoons of cocoa powder to the filling – just reduce the sugar by a tablespoon to balance it out. White chocolate works surprisingly well too, creating a beautiful contrast with the orange zest.
Citrus swaps
Ran out of oranges? Mandarins or clementines work beautifully in a pinch – you’ll need about 3-4 since they’re smaller. For a more grown-up version, try adding a tablespoon of Grand Marnier instead of some of the orange juice. Lemon lovers can go half orange, half lemon for a brighter flavor – just don’t skip the zest!
Biscuit base alternatives
Digestives not your thing? Ginger nuts make an amazing spicy base that pairs perfectly with the chocolate and orange. For a gluten-free option, gluten-free digestives or even ground almonds mixed with butter work great. I’ve even used crushed amaretti biscuits when feeling fancy – the almond flavor is divine!
Remember, baking is all about making it your own! As long as you keep the basic ratios the same, feel free to experiment with flavors you love. My only rule? Always use real ingredients – no artificial flavors or shortcuts when it comes to something as special as cheesecake!
Serving and Storing Chocolate Orange Cheesecake
Now comes the best part – enjoying your masterpiece! After all that patience waiting for it to chill, you’ll want to serve this cheesecake just right. My favorite way? Straight from the fridge with a dollop of lightly whipped cream and some fresh berries on the side. The cream mellows the rich chocolate while the berries add a lovely fresh contrast to the citrus notes.
For a showstopping presentation, I run a knife under hot water, dry it quickly, and make clean slices – wiping the knife between cuts. A dusting of cocoa powder or some chocolate curls makes it look bakery-worthy. If you’re feeling extra fancy, candied orange peel on top is absolutely divine!
How to store leftovers (if there are any!)
This cheesecake keeps beautifully in the fridge for up to 3 days – just cover it loosely with foil or plastic wrap. The flavors actually deepen overnight, making day-two slices even more delicious! Pro tip: Store any cut slices with a piece of parchment against the cut edge to prevent drying out.
Want to make it ahead? You can bake it up to 2 days before serving – just wait to add any toppings until right before serving. And yes, it freezes well too! Wrap the whole cheesecake (or individual slices) tightly in plastic wrap and foil, then freeze for up to a month. Thaw overnight in the fridge when you’re ready to enjoy.
One word of warning though – the biscuit base will soften slightly after a day or two in the fridge. If you’re serving it for a special occasion, I recommend baking it the day before rather than earlier. That perfect crisp base is worth timing it right!
Chocolate Orange Cheesecake FAQs
Over the years, I’ve gotten so many questions about this recipe from friends and readers who’ve tried making it. Here are the answers to the most common ones that pop up – consider this your cheesecake troubleshooting guide straight from my kitchen to yours!
Can I freeze this cheesecake?
Absolutely! I freeze slices all the time for those sudden cheesecake cravings. Wrap individual portions tightly in plastic wrap, then foil, and they’ll keep beautifully for up to a month. Thaw overnight in the fridge – no microwave! The texture might be slightly denser after freezing, but the flavor stays perfect.
Why did my cheesecake crack?
Oh, the heartbreak of cracks! Usually it’s from overbaking or cooling too quickly. Remember, your cheesecake should still have a slight wobble in the center when you take it out – it’ll firm up as it cools. And that slow cooling in the oven with the door ajar? That’s your best defense against cracks. If it does crack, just cover it with chocolate ganache or whipped cream – delicious camouflage!
Can I use light cream cheese?
I don’t recommend it, honestly. Full-fat cream cheese gives that luxurious, creamy texture we all love. Light versions have more water and stabilizers that can make your cheesecake grainy or even cause it to weep. If you must use light cream cheese, add an extra tablespoon of cornflour to help stabilize it – but the texture still won’t be quite as dreamy.
Help! My cheesecake is too soft in the middle
This usually means it needed more baking time. Next time, give it those extra 5-10 minutes until just the very center jiggles slightly when shaken. For this one? Chill it thoroughly – sometimes that firms it up enough to save it. If not, call it a chocolate orange cheesecake mousse and serve it with spoons – no one will complain!
Can I make this without a springform pan?
You can, but removal gets tricky. A regular cake tin lined with parchment paper (with extra hanging over the sides) works in a pinch. Freeze the baked cheesecake for 30 minutes first, then use the parchment “handles” to lift it out gently. But honestly? Invest in a springform – they’re not expensive and make life so much easier!
Nutritional Information
Now, I know what you’re thinking – we’re talking cheesecake here, not health food! But for those curious minds (or anyone tracking their intake), here’s the general nutritional picture of this decadent Chocolate Orange Cheesecake. Remember, these are estimates based on standard ingredients – your exact values might vary depending on specific brands or slight recipe tweaks.
A typical slice (about 1/10th of the cheesecake) comes in around 420 calories with 32g of fat (19g saturated). There’s about 28g of sugar per serving – most from natural sources like the oranges and chocolate. You’ll get a decent 6g of protein too, thanks to all that cream cheese and eggs!
Important note: These numbers don’t include any toppings like whipped cream or berries. And let’s be real – when you’re indulging in something this special, sometimes it’s better not to overanalyze and just enjoy every delicious bite! After all, life’s too short not to savor a perfect slice of cheesecake now and then.

Perfect Chocolate Orange Cheesecake in 5 Simple Steps
- Prep Time: 20 minutes
- Cook Time: 50 minutes
- Total Time: 5 hours 10 minutes (includes chilling)
- Yield: 10 servings 1x
- Category: Dessert
- Method: Baking
- Cuisine: European
- Diet: Vegetarian
Description
A creamy and tangy chocolate orange cheesecake with a buttery biscuit base.
Ingredients
- 200g digestive biscuits
- 100g unsalted butter, melted
- 600g cream cheese
- 150g caster sugar
- 3 eggs
- 200ml double cream
- 100g dark chocolate, melted
- Zest and juice of 2 oranges
- 1 tsp vanilla extract
Instructions
- Preheat your oven to 160°C (140°C fan).
- Crush the biscuits and mix with melted butter. Press into a lined tin.
- Beat the cream cheese and sugar until smooth. Add eggs one at a time.
- Stir in the cream, melted chocolate, orange zest, juice, and vanilla.
- Pour the mixture over the biscuit base and smooth the top.
- Bake for 45-50 minutes until set but slightly wobbly.
- Cool in the oven with the door ajar, then chill for 4 hours.
Notes
- Use room-temperature cream cheese for smoother mixing.
- Let the cheesecake cool slowly to avoid cracks.
Nutrition
- Serving Size: 1 slice
- Calories: 420
- Sugar: 28g
- Sodium: 220mg
- Fat: 32g
- Saturated Fat: 19g
- Unsaturated Fat: 10g
- Trans Fat: 0g
- Carbohydrates: 30g
- Fiber: 1g
- Protein: 6g
- Cholesterol: 120mg